Most people learn Seoul from the center outward: the loud neighborhoods, the famous intersections, the places everyone points to on a map.
The Seoul Trail flips that. It draws a clean loop around the city—156.5 km, split into 21 routes—and asks you to understand Seoul the way the city understands itself: by edges, ridgelines, streams, and the quiet infrastructure that keeps everything moving.
If you want the simplest version of the pitch: walk the full ring, and you’ll stop guessing what Seoul is. You’ll feel how it’s built.
What the Seoul Trail actually is
- Total distance: 156.5 km, 21 routes
- Structure: forest trails, village trails, riverside trails (a loop designed for everyday access, not expedition logistics)
- Updated routing: reorganized from 8 routes into 21, with suggested segments designed to fit roughly 2–4 hours for a “doable” day or after-work walk
- Access: designed to be reached by public transportation, with guidance signage from nearby transport hubs
Difficulty, quickly (so you don’t pick wrong)
The official course list labels each route as Hard / Medium / Easy. Here’s the breakdown:
- Hard: Routes 1, 2, 9, 16
- Easy: Routes 4, 6, 7, 8, 13, 14, 15
- Medium: Routes 3, 5, 10, 11, 12, 17, 18, 19, 20, 21
Rule of thumb:
- Hard routes tend to mean repeated short climbs and descents (more “legs” than “views”).
- Easy routes are where you can keep a steady pace and still talk.
- Medium routes are the default: enough elevation or distance to feel like a real session.
Route list (names, distance, difficulty)
Distances below follow a compiled 21-route list that matches the current 21-route structure.
| Route | Area | Distance | Difficulty |
|---|---|---|---|
| 1 | Suraksan Mountain | 6.3 km | Hard |
| 2 | Deongneung-gogae Pass | 5.4 km | Hard |
| 3 | Buramsan Mountain | 6.9 km | Medium |
| 4 | Mangusan & Yongmasan Mountains | 7.7 km | Easy |
| 5 | Achasan Mountain | 4.6 km | Medium |
| 6 | Godeoksan Mountain | 9.3 km | Easy |
| 7 | Iljasan Mountain | 7.7 km | Easy |
| 8 | Jangjicheon & Tancheon Streams | 8.6 km | Easy |
| 9 | Daemosan & Guryongsan Mountains | 10.7 km | Hard |
| 10 | Umyeonsan Mountain | 7.6 km | Medium |
| 11 | Gwanaksan Mountain | 5.7 km | Medium |
| 12 | Hoamsan Mountain | 7.3 km | Medium |
| 13 | Anyangcheon Upstream | 8.0 km | Easy |
| 14 | Anyangcheon Downstream | 10.2 km | Easy |
| 15 | Noeul & Haneul Parks | 7.7 km | Easy |
| 16 | Bongsan & Aengbongsan Mountains | 9.1 km | Hard |
| 17 | Bukhansan Mountain & Eunpyeong-gu | 5.9 km | Medium |
| 18 | Bukhansan Mountain & Jongno-gu | 7.4 km | Medium |
| 19 | Bukhansan Mountain & Seongbuk-gu | 6.0 km | Medium |
| 20 | Bukhansan Mountain & Gangbuk-gu | 7.1 km | Medium |
| 21 | Bukhansan Mountain & Dobong-gu | 7.3 km | Medium |
(If you only want one “starter” decision: pick an Easy route and treat it like a two-hour calibration lap.)
How to get to each route by subway
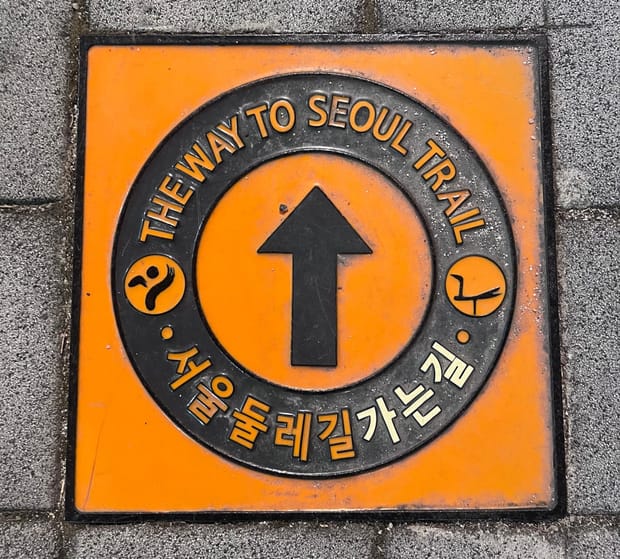
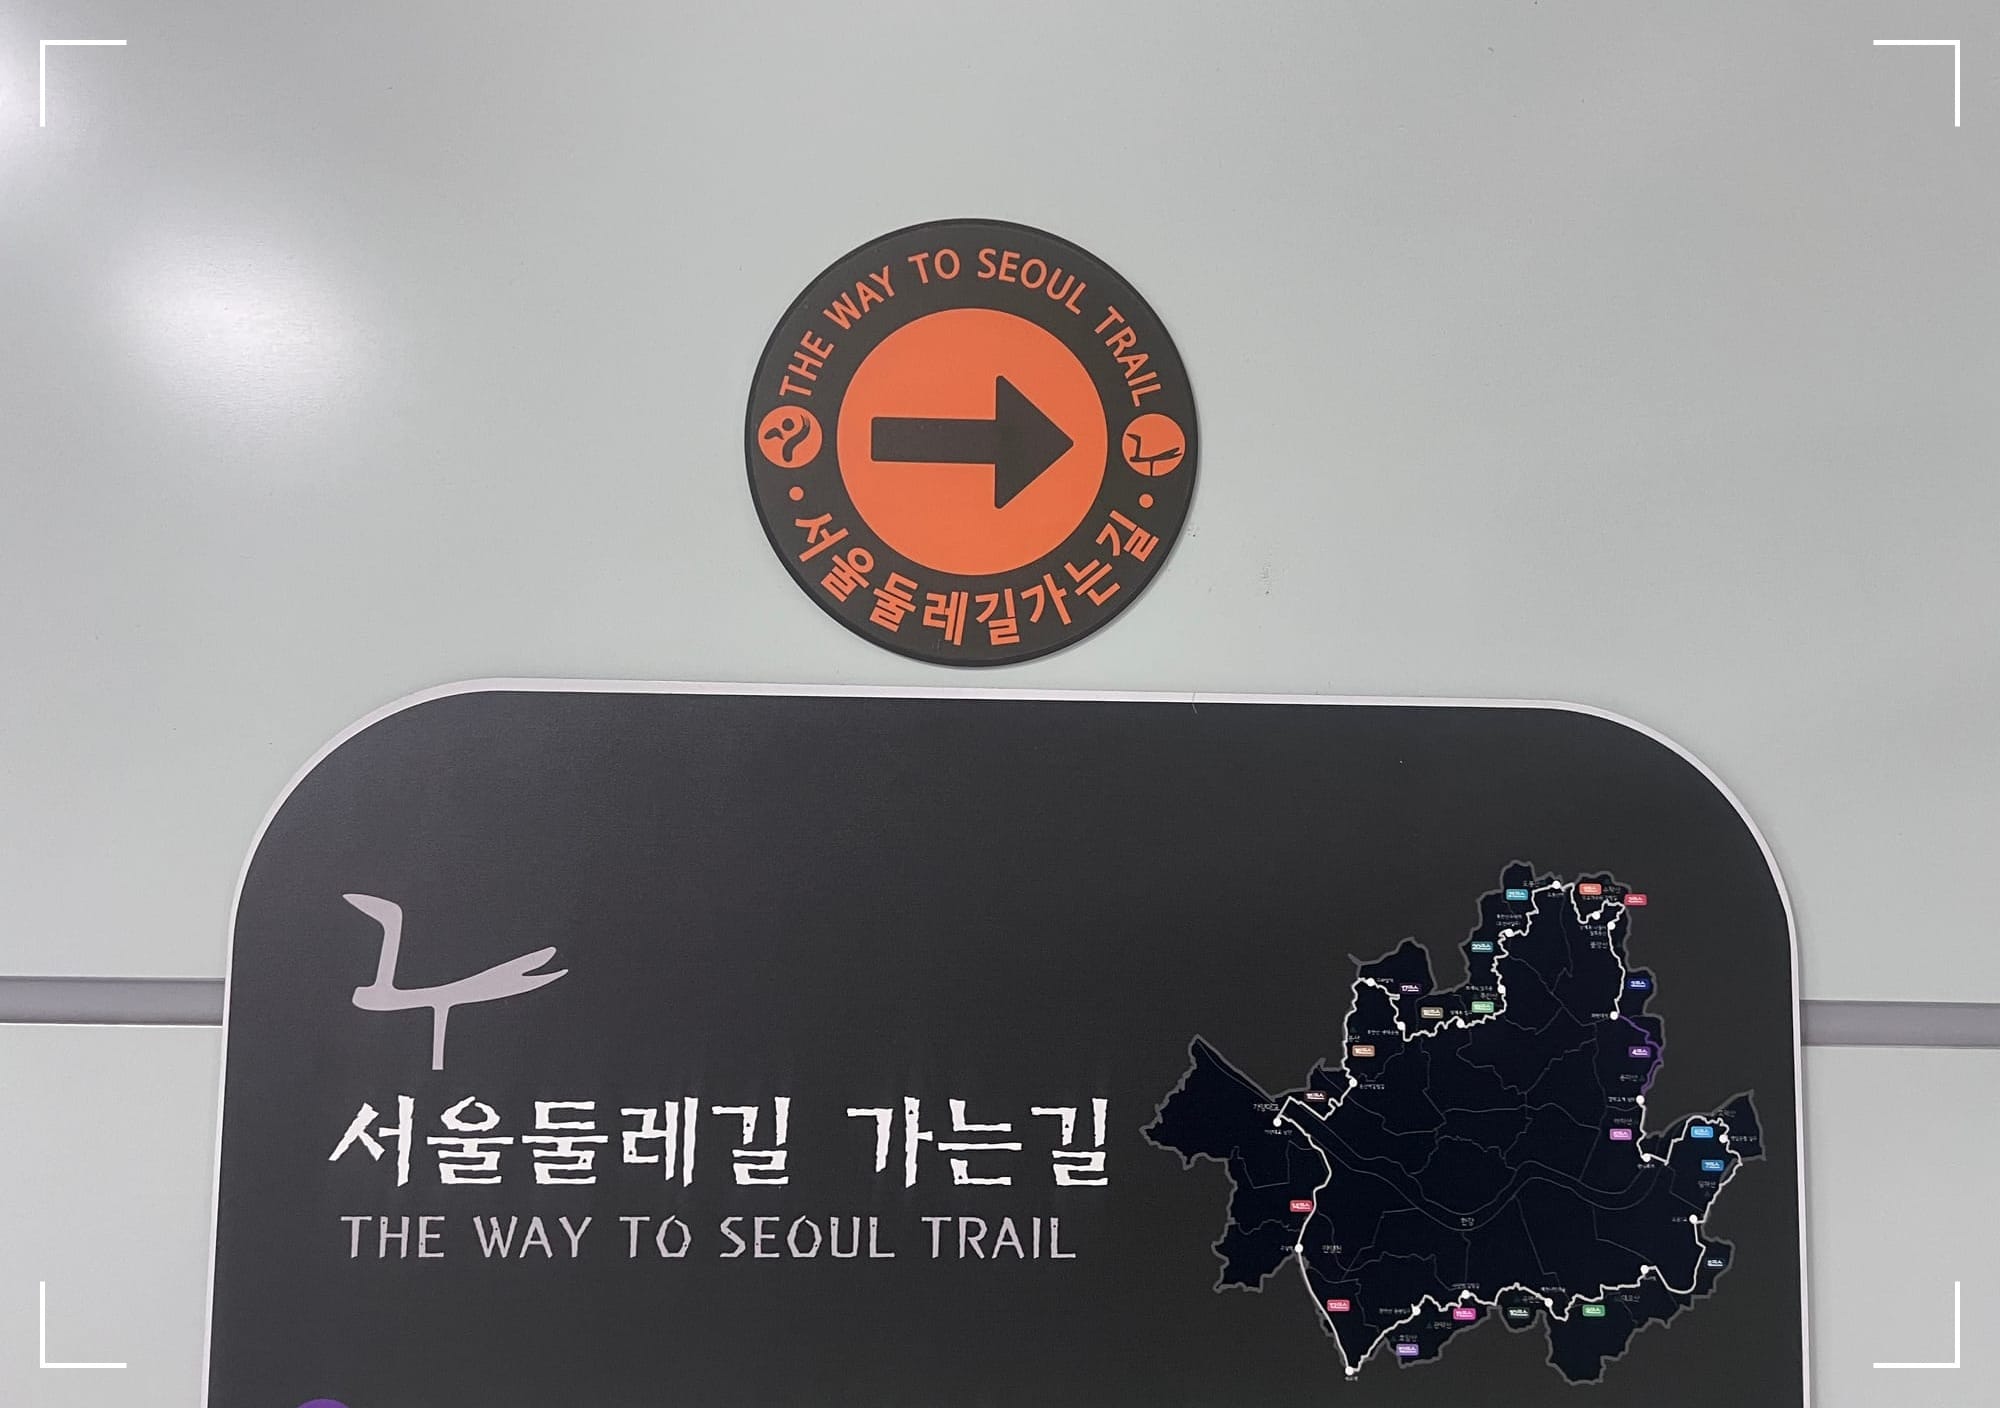
The system is built around public transit access, and the city explicitly supports wayfinding from transport hubs with “Seoul Trail Guide” signage.
Rather than guessing station names from a blog post, use one of these reliable methods:
- Route start/end signage + official wayfinding
You’ll see departure/arrival signboards and guide signboards leading in from nearby transport hubs. - Use a trail app that contains the official route geometry
The city recognizes completion via app-based methods (details below), and those apps will also show the closest entry points. - Known example access point (Route 1–2 gateway)
One documented starting access for Routes 1–2 is Dobongsan Station, starting from Gate 1 (as used by hikers following the current route structure).
Verification: stamps, QR, and app completion
The Seoul Trail has a built-in completion system that’s more structured than most city hikes:
- There are 28 stamping stations built from repurposed mailboxes along the trail.
- If you collect all 28 stamps, you can receive a Seoul Trail Completion Certificate.
Three certificate paths are recognized:
- Stamp book (paper)
- Scan all 28 QR codes on top of the mailboxes (QR certificate)
- Use a supported private app (app certificate). The city lists examples such as Durunubi, Tranggle, WalkON.
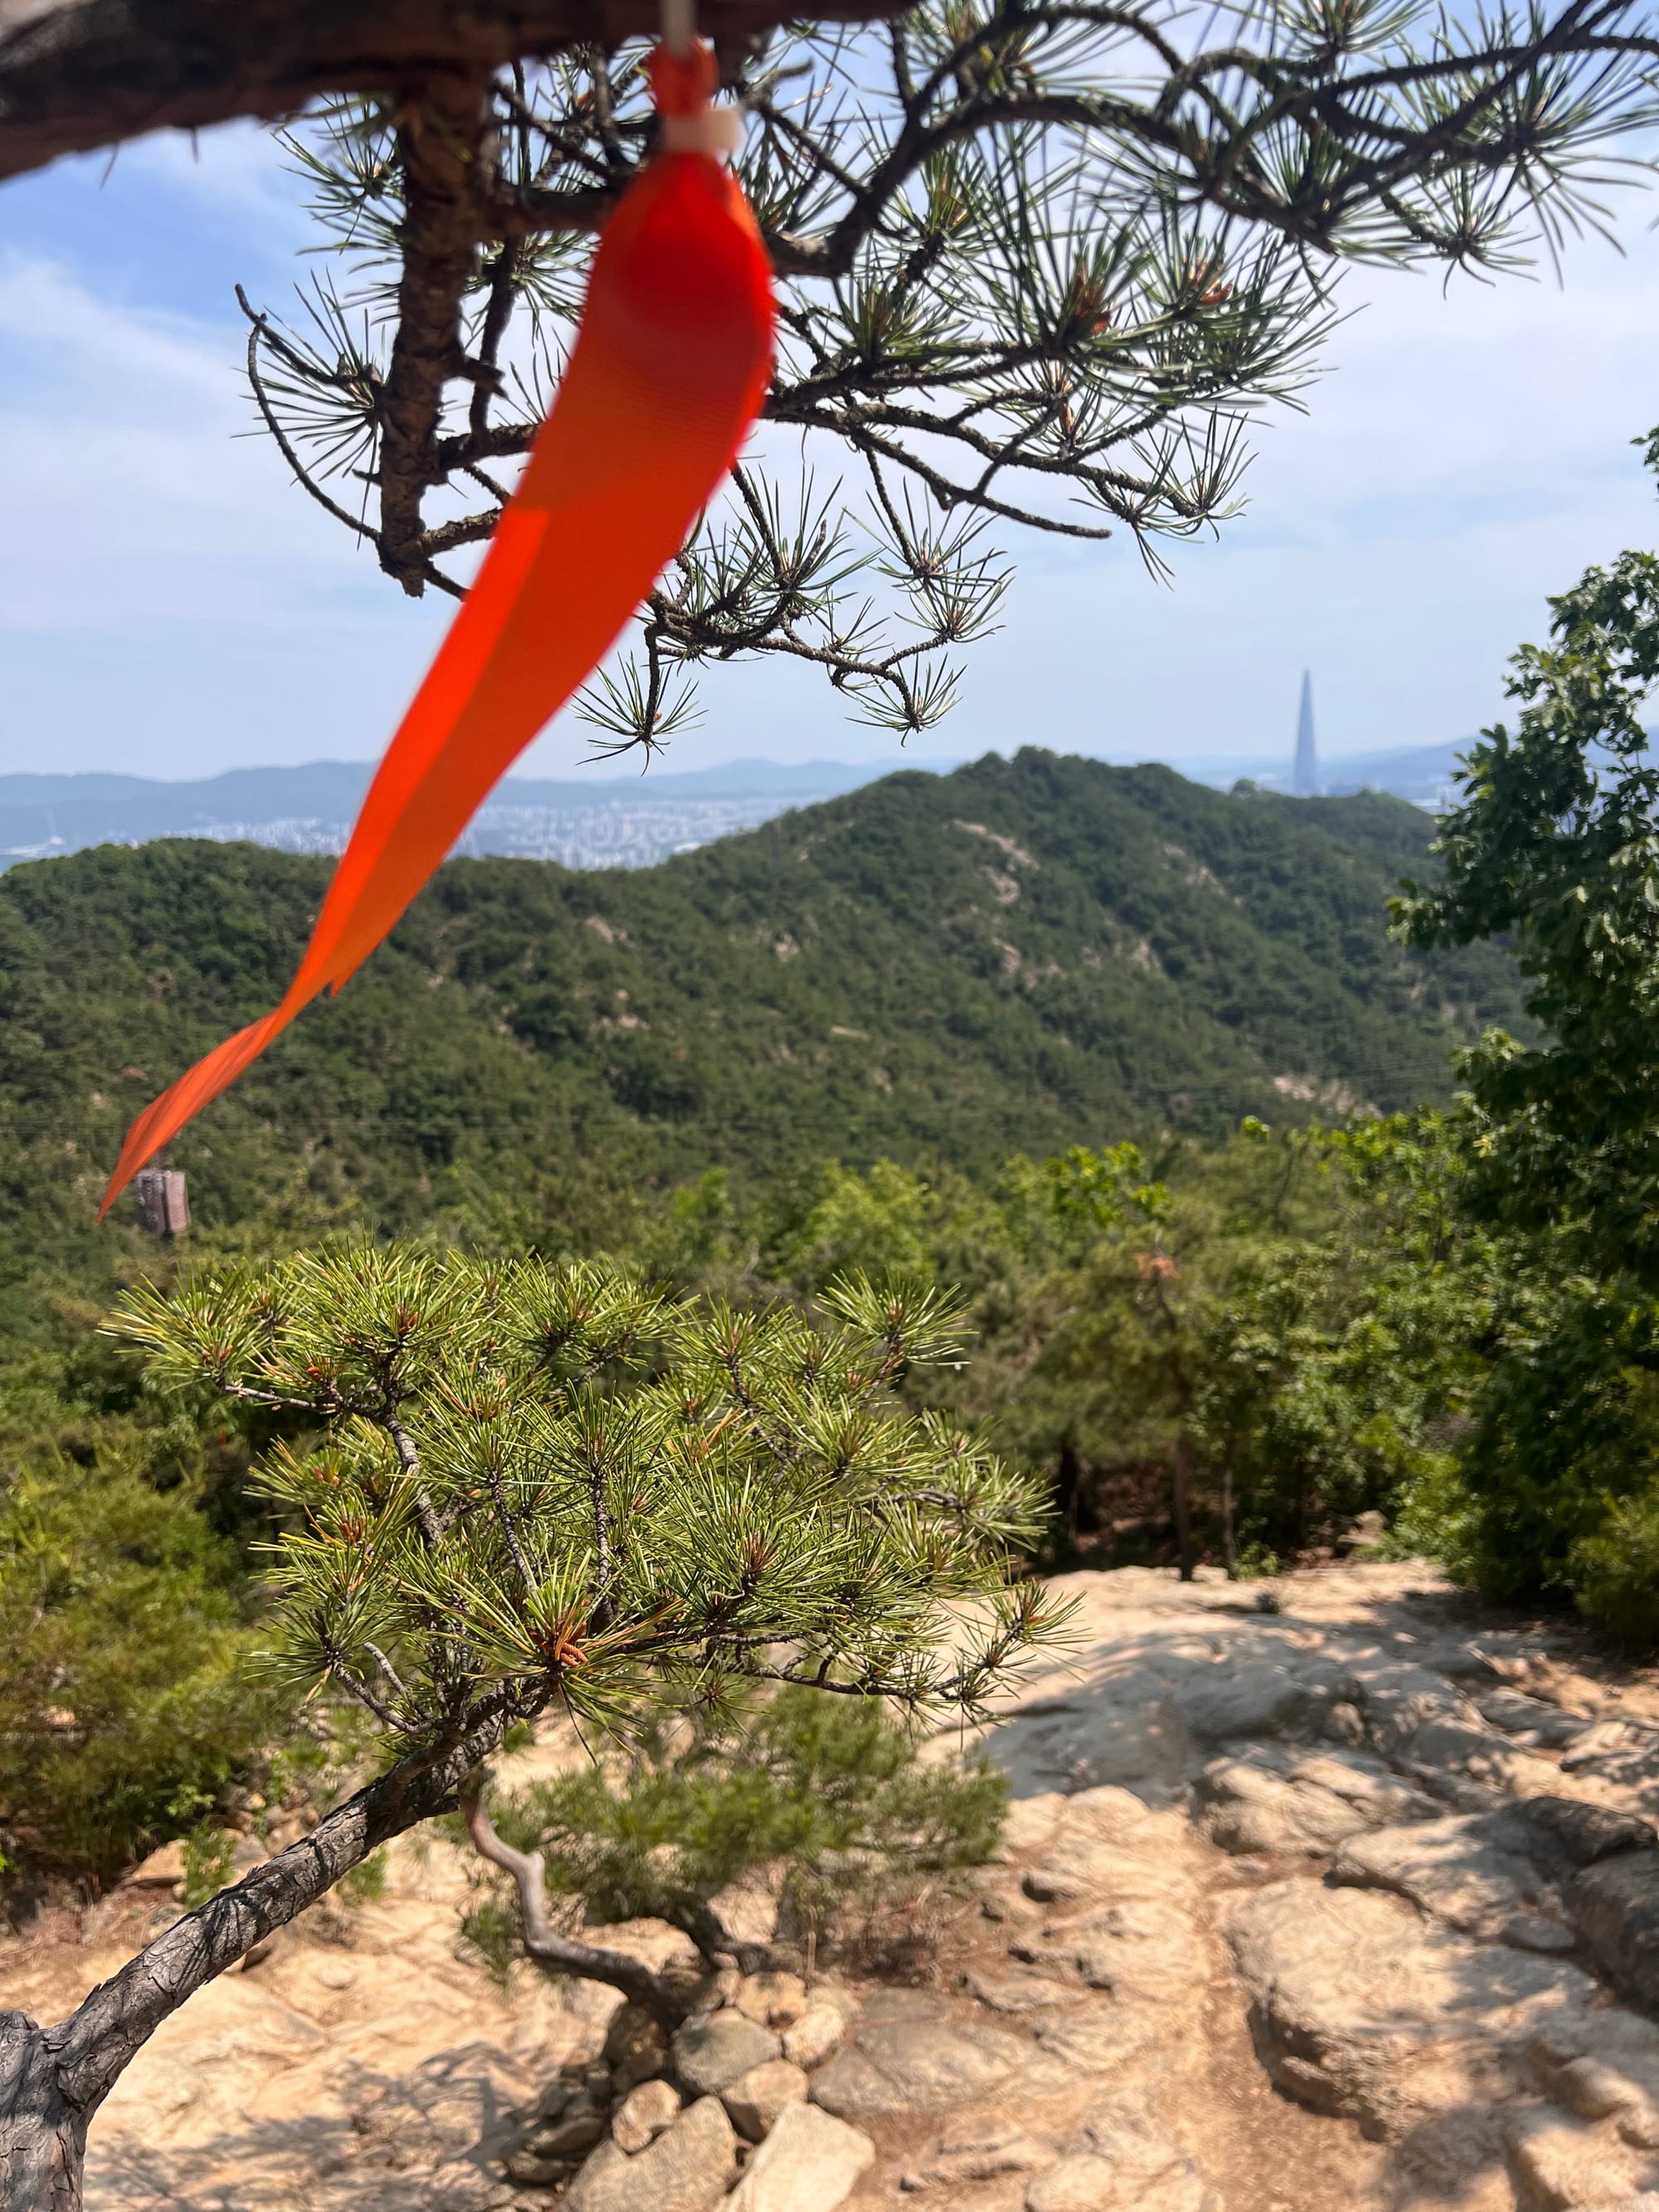
How to walk it: turn on the app, start at a mailbox, follow the orange tags
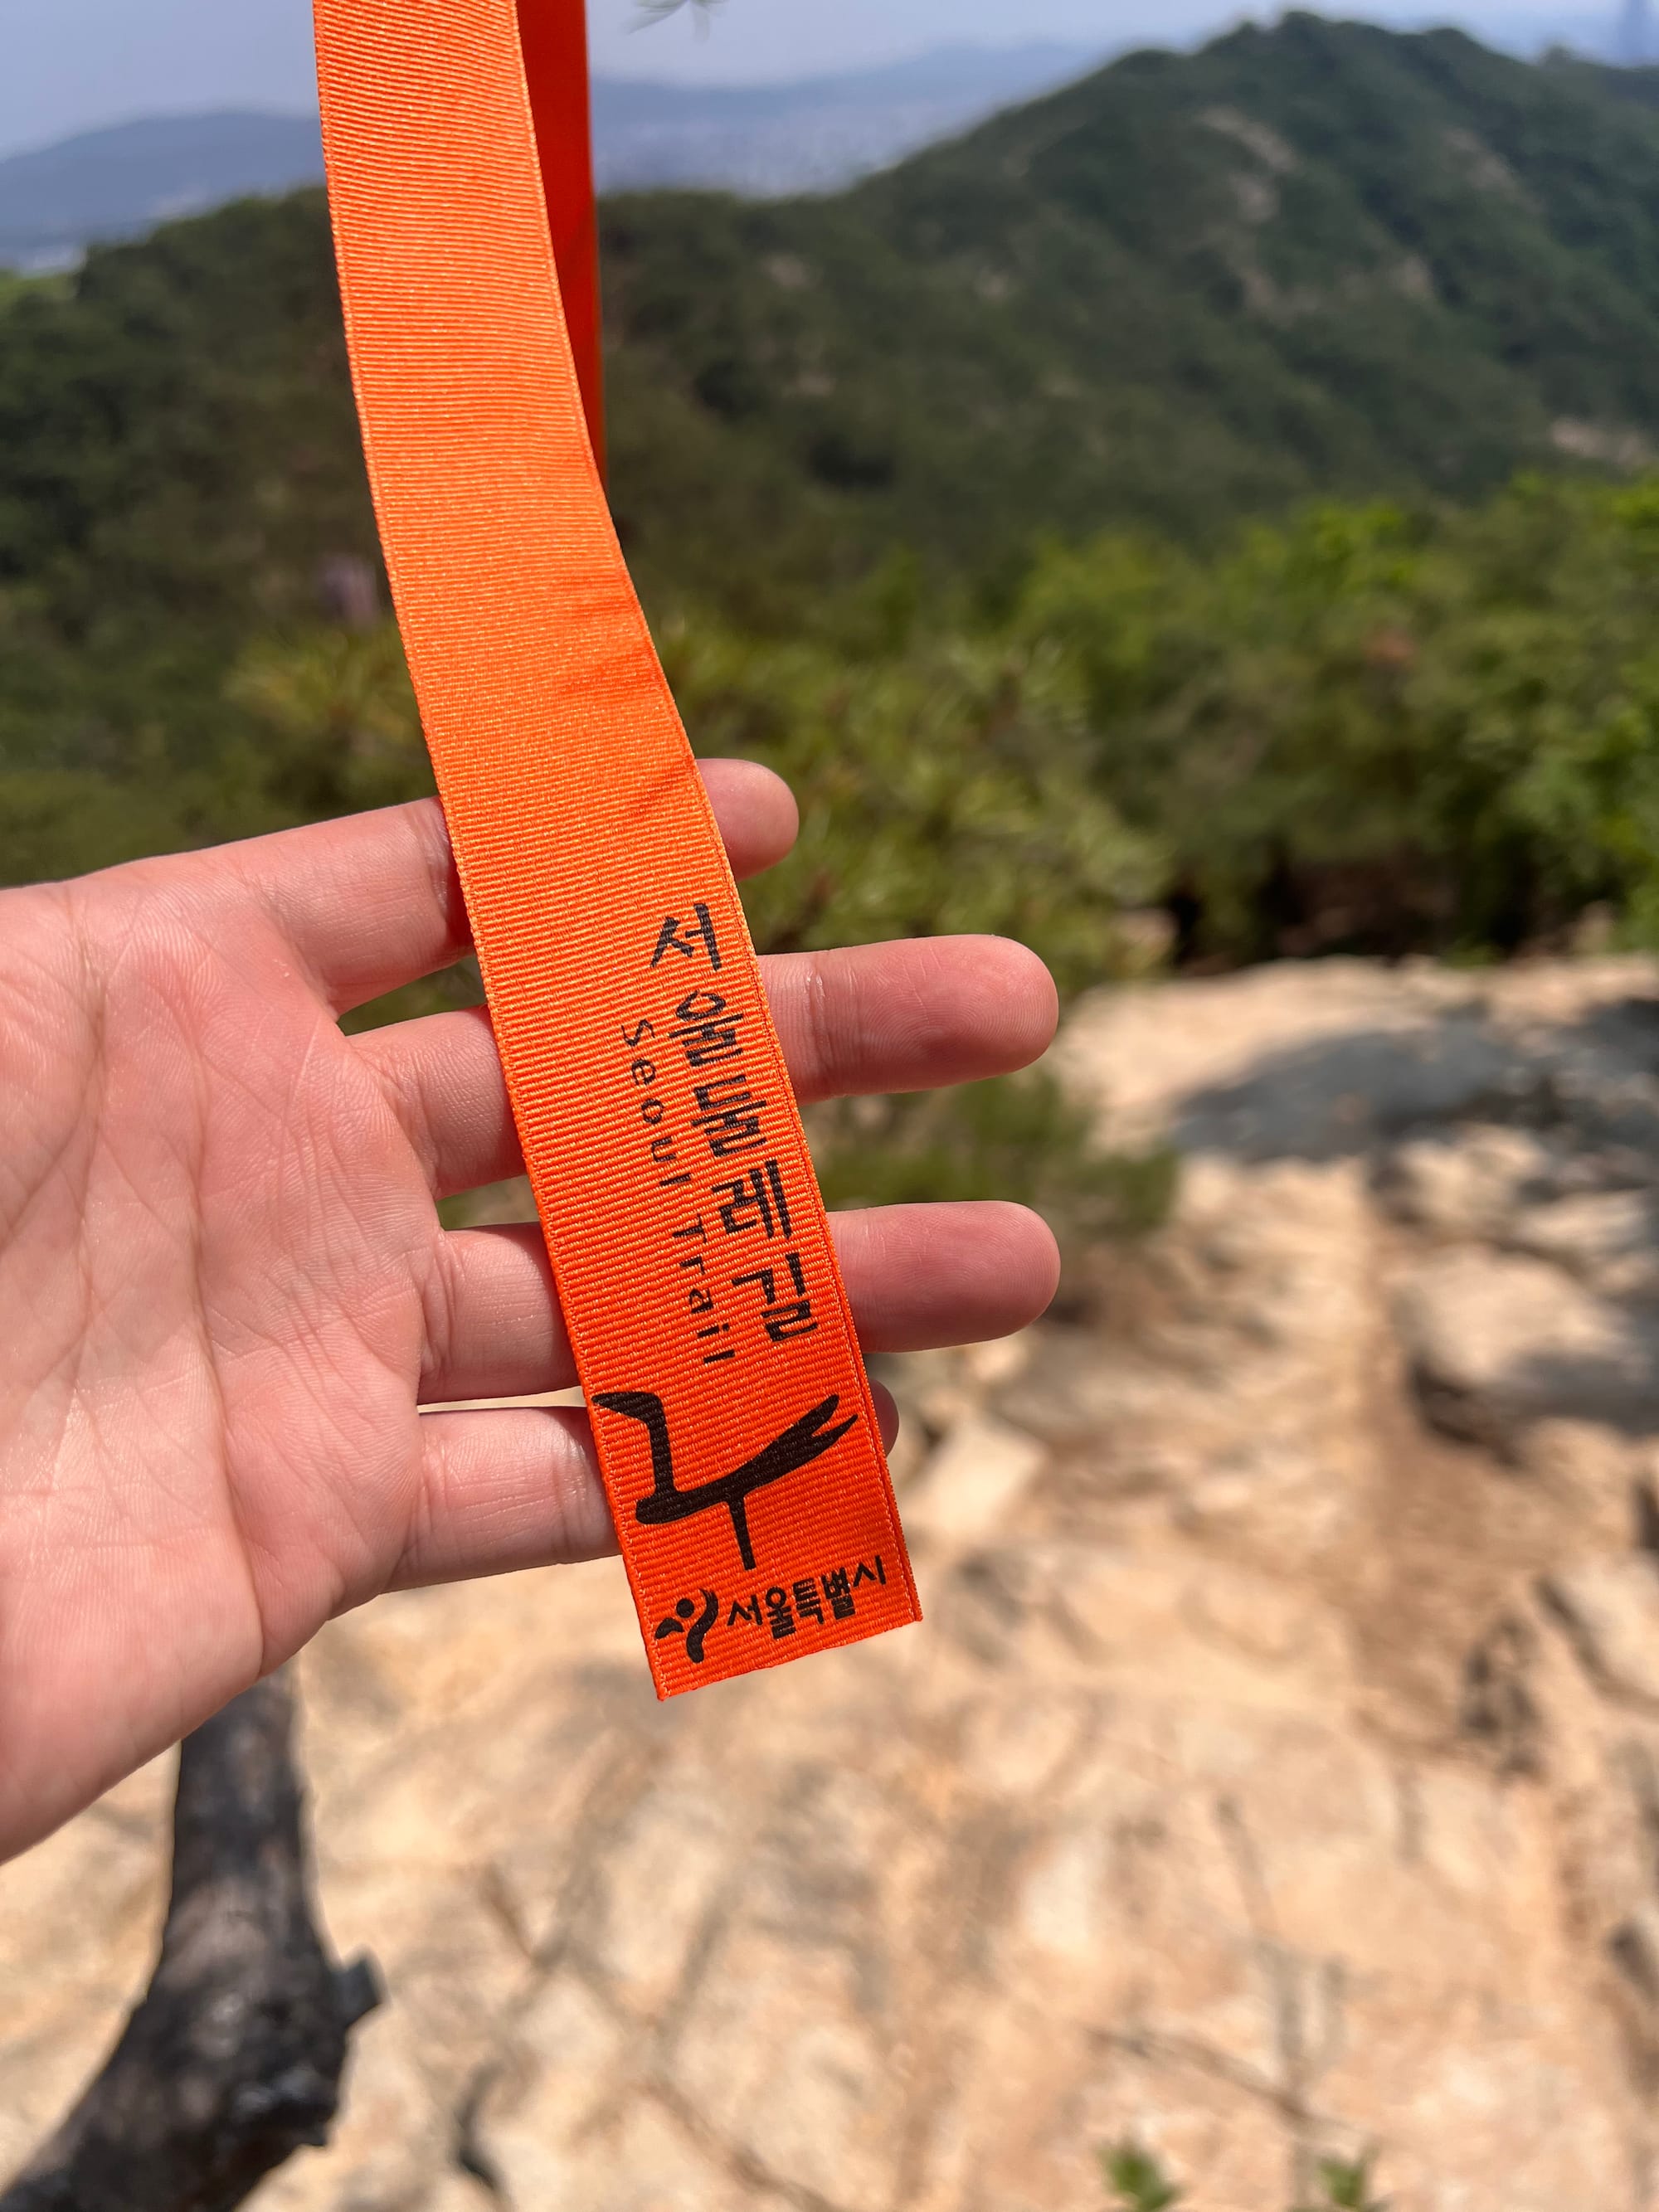
Once you set it up once, it becomes almost stupidly simple. Open your trail app, enter from the nearest access point, and treat the mailbox-style stamp station as your “start line.” From there, you don’t need to keep solving the route. The trail is marked, and the orange tags do most of the work.
Think of the app as a backup layer—useful for confirming you’re on course. On the ground, it’s closer to “follow the orange tags” than “navigate a hike.” Do that, and the payoff is predictable: you start seeing a Seoul that doesn’t show up in neighborhood lists—ridgelines, streams, back edges of districts—a beautiful city revealed by simply staying on the line.
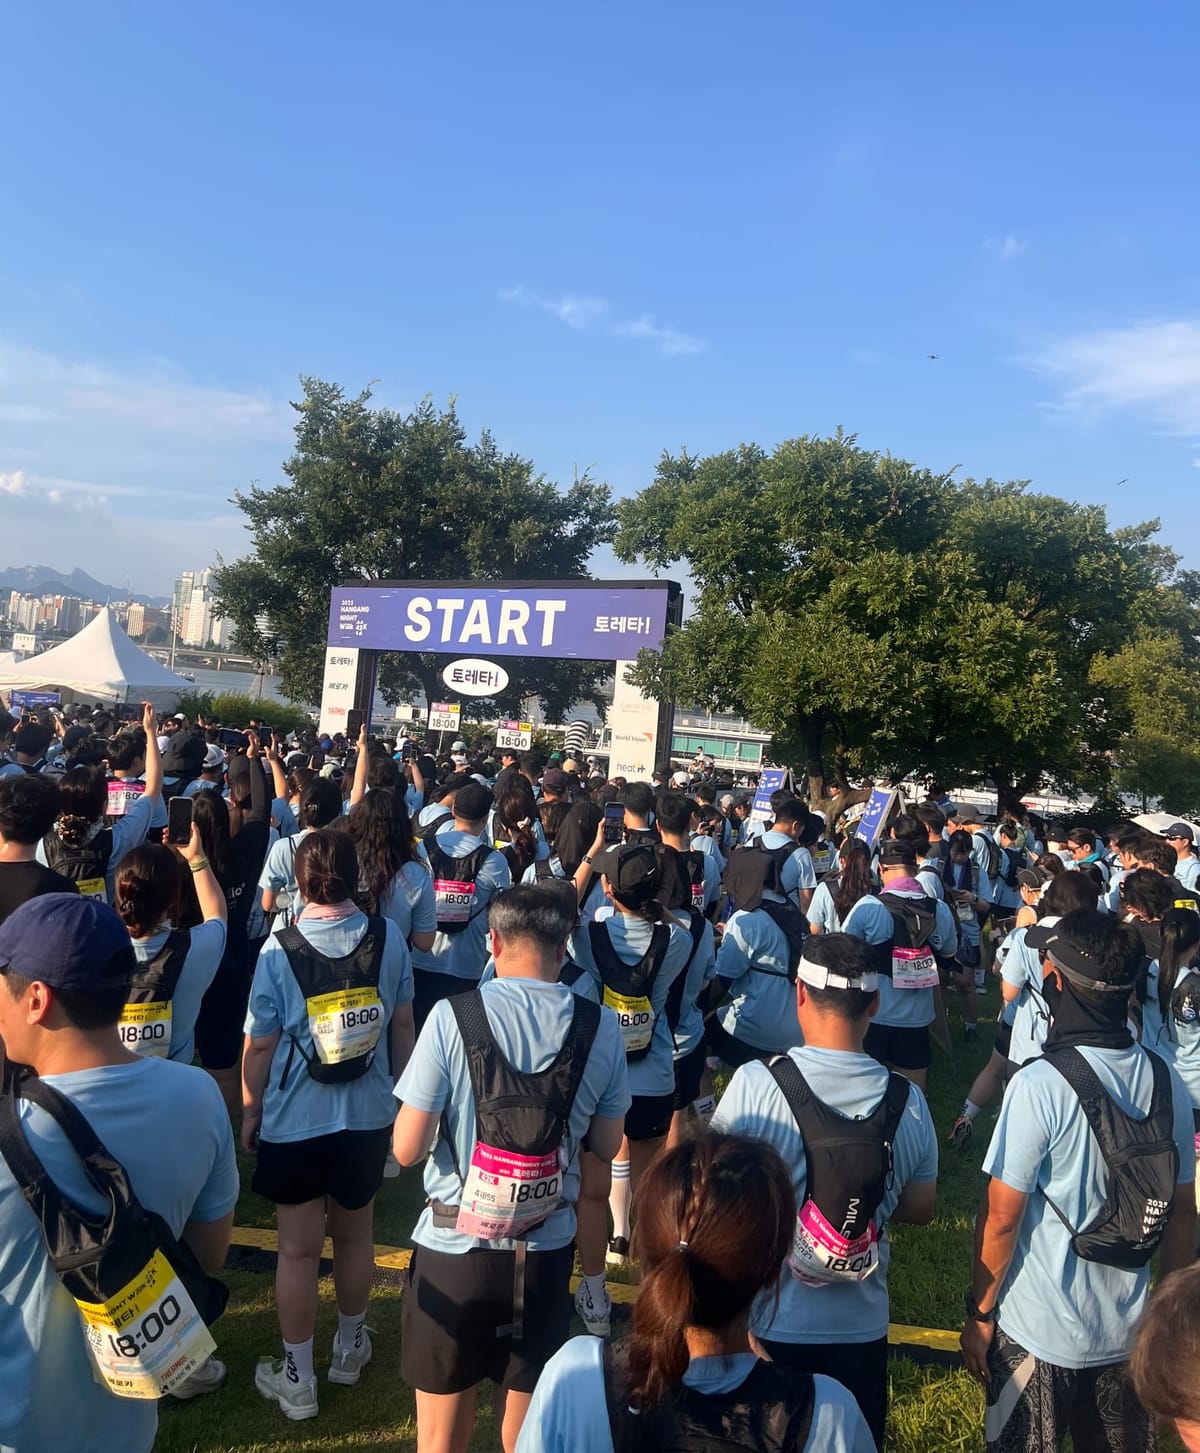
The competitive angle: Seoul100K
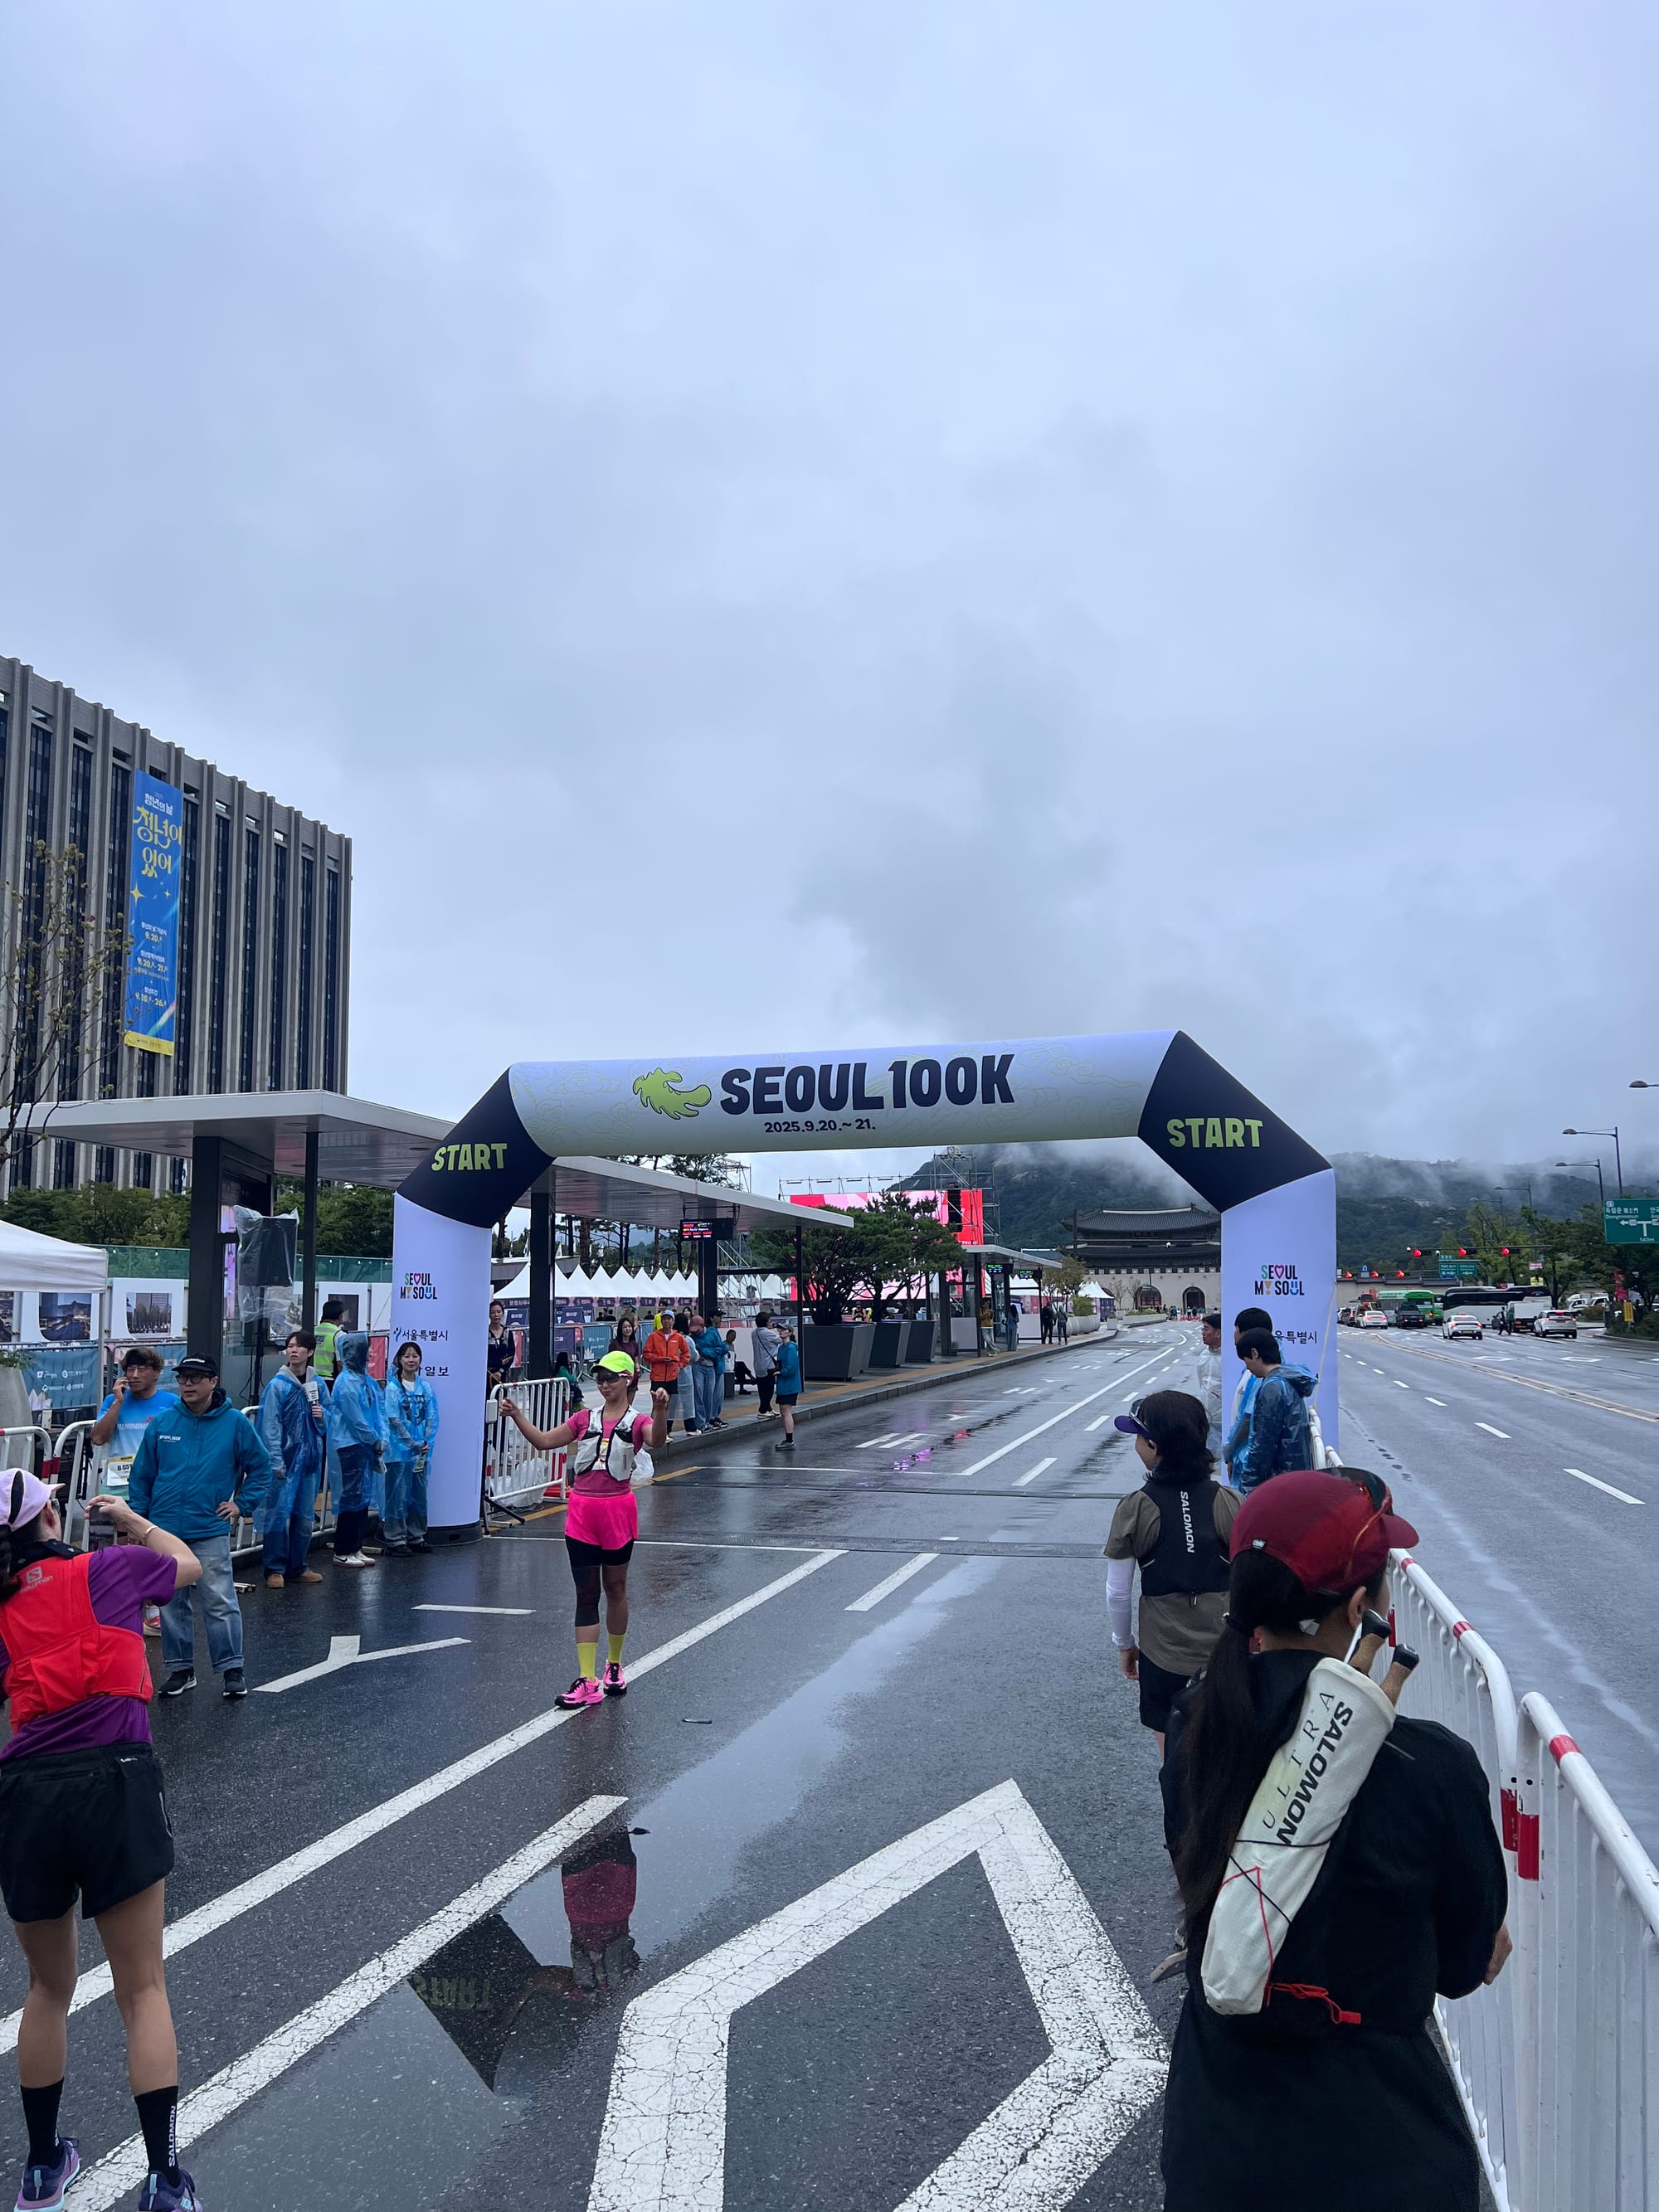
If you needed proof the trail isn’t just “a nice walk,” here it is: Seoul100K is a 100 km ultra event built around the Seoul Trail.
It’s the same idea, just compressed into one long day: the city perimeter as a course, not a backdrop.
Syn-K Takeaway
Doing one route is a good afternoon. Doing several routes changes your mental map. And finishing the full loop does something else: it stops Seoul from feeling like a highlight reel.
Related Article